
This guide provides the necessary steps to prepare your environment for creating high-quality screencasts aimed at developers. A high-quality screencast is characterized by clear audio, video resolution adaptable to various screen sizes including mobile, and a work environment free from distractions.
Our goal is to ensure that the viewer remains focused on the most important aspect - the educational content.
The Ideal Screen Resolution
I record at a resolution of 1920x1080 pixels, doubled for clarity and legibility. If you're using a Mac, you can adjust your resolution by going to System Settings > Display > Advanced > Show Resolution List, and then selecting the 2560x1440 pixel resolution.
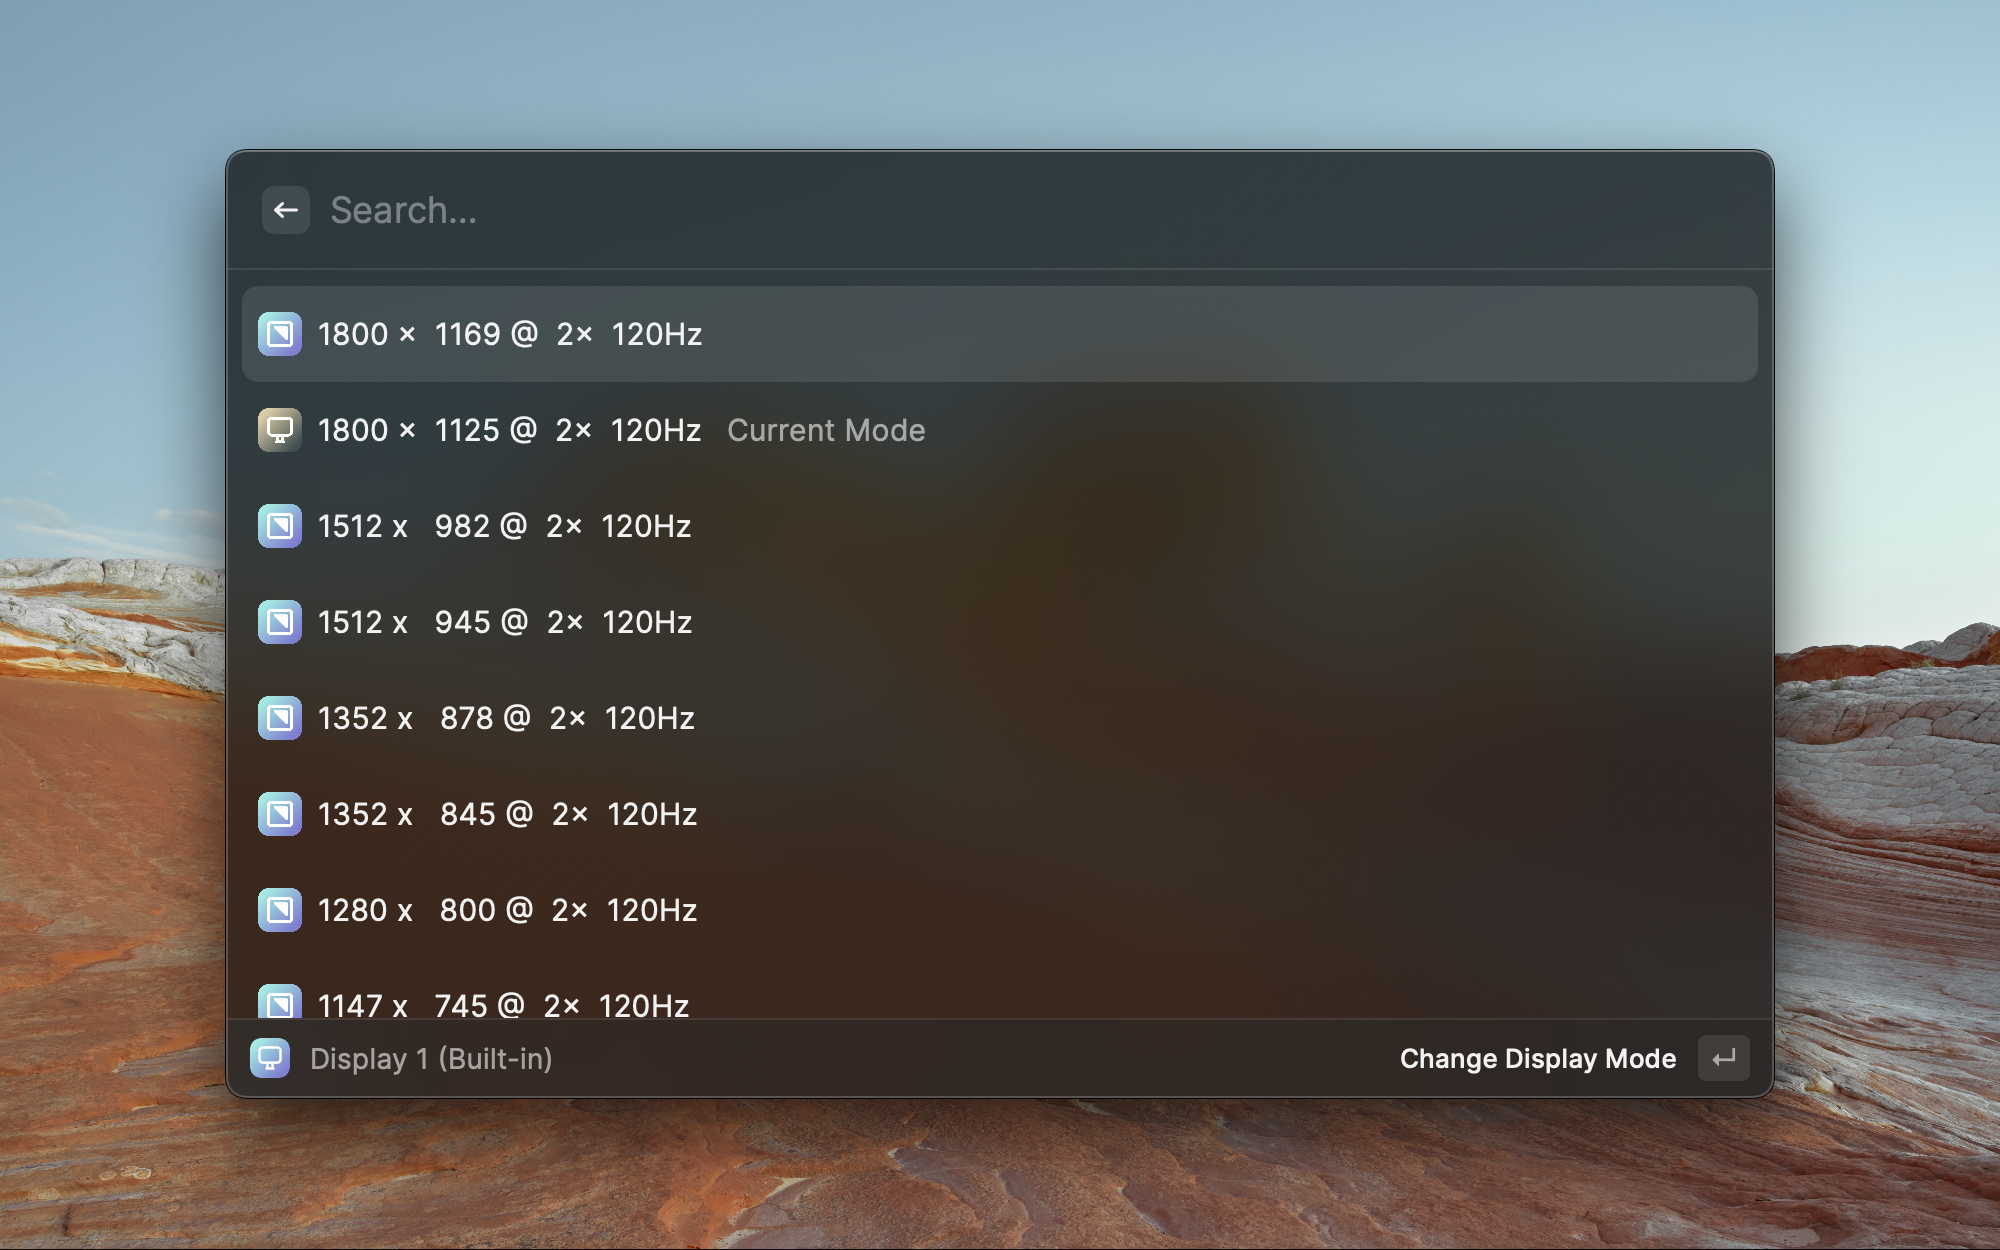
Alternatively, you can use the Raycast App's Display Modes to change the resolution. This is a simple extension that shows the available displays and their modes, and lets you switch to the mode with the resolution and refresh rate you want.
Visual Studio Code Editor Setup
The next step is to optimize your editor for a distraction-free environment. Here are the settings you need to adjust when screencasting:
Choosing the Right Theme and Font
I'm using the One Dark Pro Monokai Darker theme because it meets accessible standards for color contrasts. Avoid themes that use cursive fonts.
For the editor and terminal font, I've chosen Geist Mono, part of the Geist font family. This typeface is simple, accessible, and minimalist, making it ideal for screencasting.
Optimizing Browser for Zero Distractions
When using the browser, disable all unnecessary features in the appearance section to minimize distractions during screencasting. Ensure to use full screen mode when recording the browser alone.
When displaying both the browser and the editor, adhere to the 2/3 rule: two-thirds of your screen should be occupied by the editor, while the remaining one-third is for the browser. If you need to use the browser's developer tools, increase the font size for better legibility.
The following image illustrates how your screen should look when applying the 2/3 rule.

Recording with ScreenFlow
ScreenFlow is my go-to tool for recording and editing screencasts. It's minimalistic and easy to learn. The key to recording screencasts is to capture both audio and screen simultaneously. Don't worry about making mistakes, as you can edit them out later.
After recording, remember to check the 'Smooth Volume Levels' option to enhance the audio quality. When exporting, set the Type to 'Manual', select 'Web - High' for the quality, and set the Resolution to 'Original 100%'.
Summary
This guide simplifies the process of setting up for high-quality screencasting. For easy reference, a concise checklist is provided below to guide you through each step.
Set Screen Resolution:
Adjust to 1920x1080 pixels or 2560x1440 pixels for Mac users.
Configure Visual Studio Code:
See
settings.jsonfor an editor optimized for zero distractions.
Optimize Browser:
Disable unnecessary features.
Use full screen mode when recording the browser alone.
Follow the 2/3 rule when displaying both the browser and the editor.
Prepare for Recording with ScreenFlow:
Capture both audio and screen simultaneously.
Check the 'Smooth Volume Levels' option after recording.
Set the Type to 'Manual', Quality to 'Web - High', and Resolution to 'Original 100%' when exporting.
